Installation Mindset Livestream Class
August 5, 2021


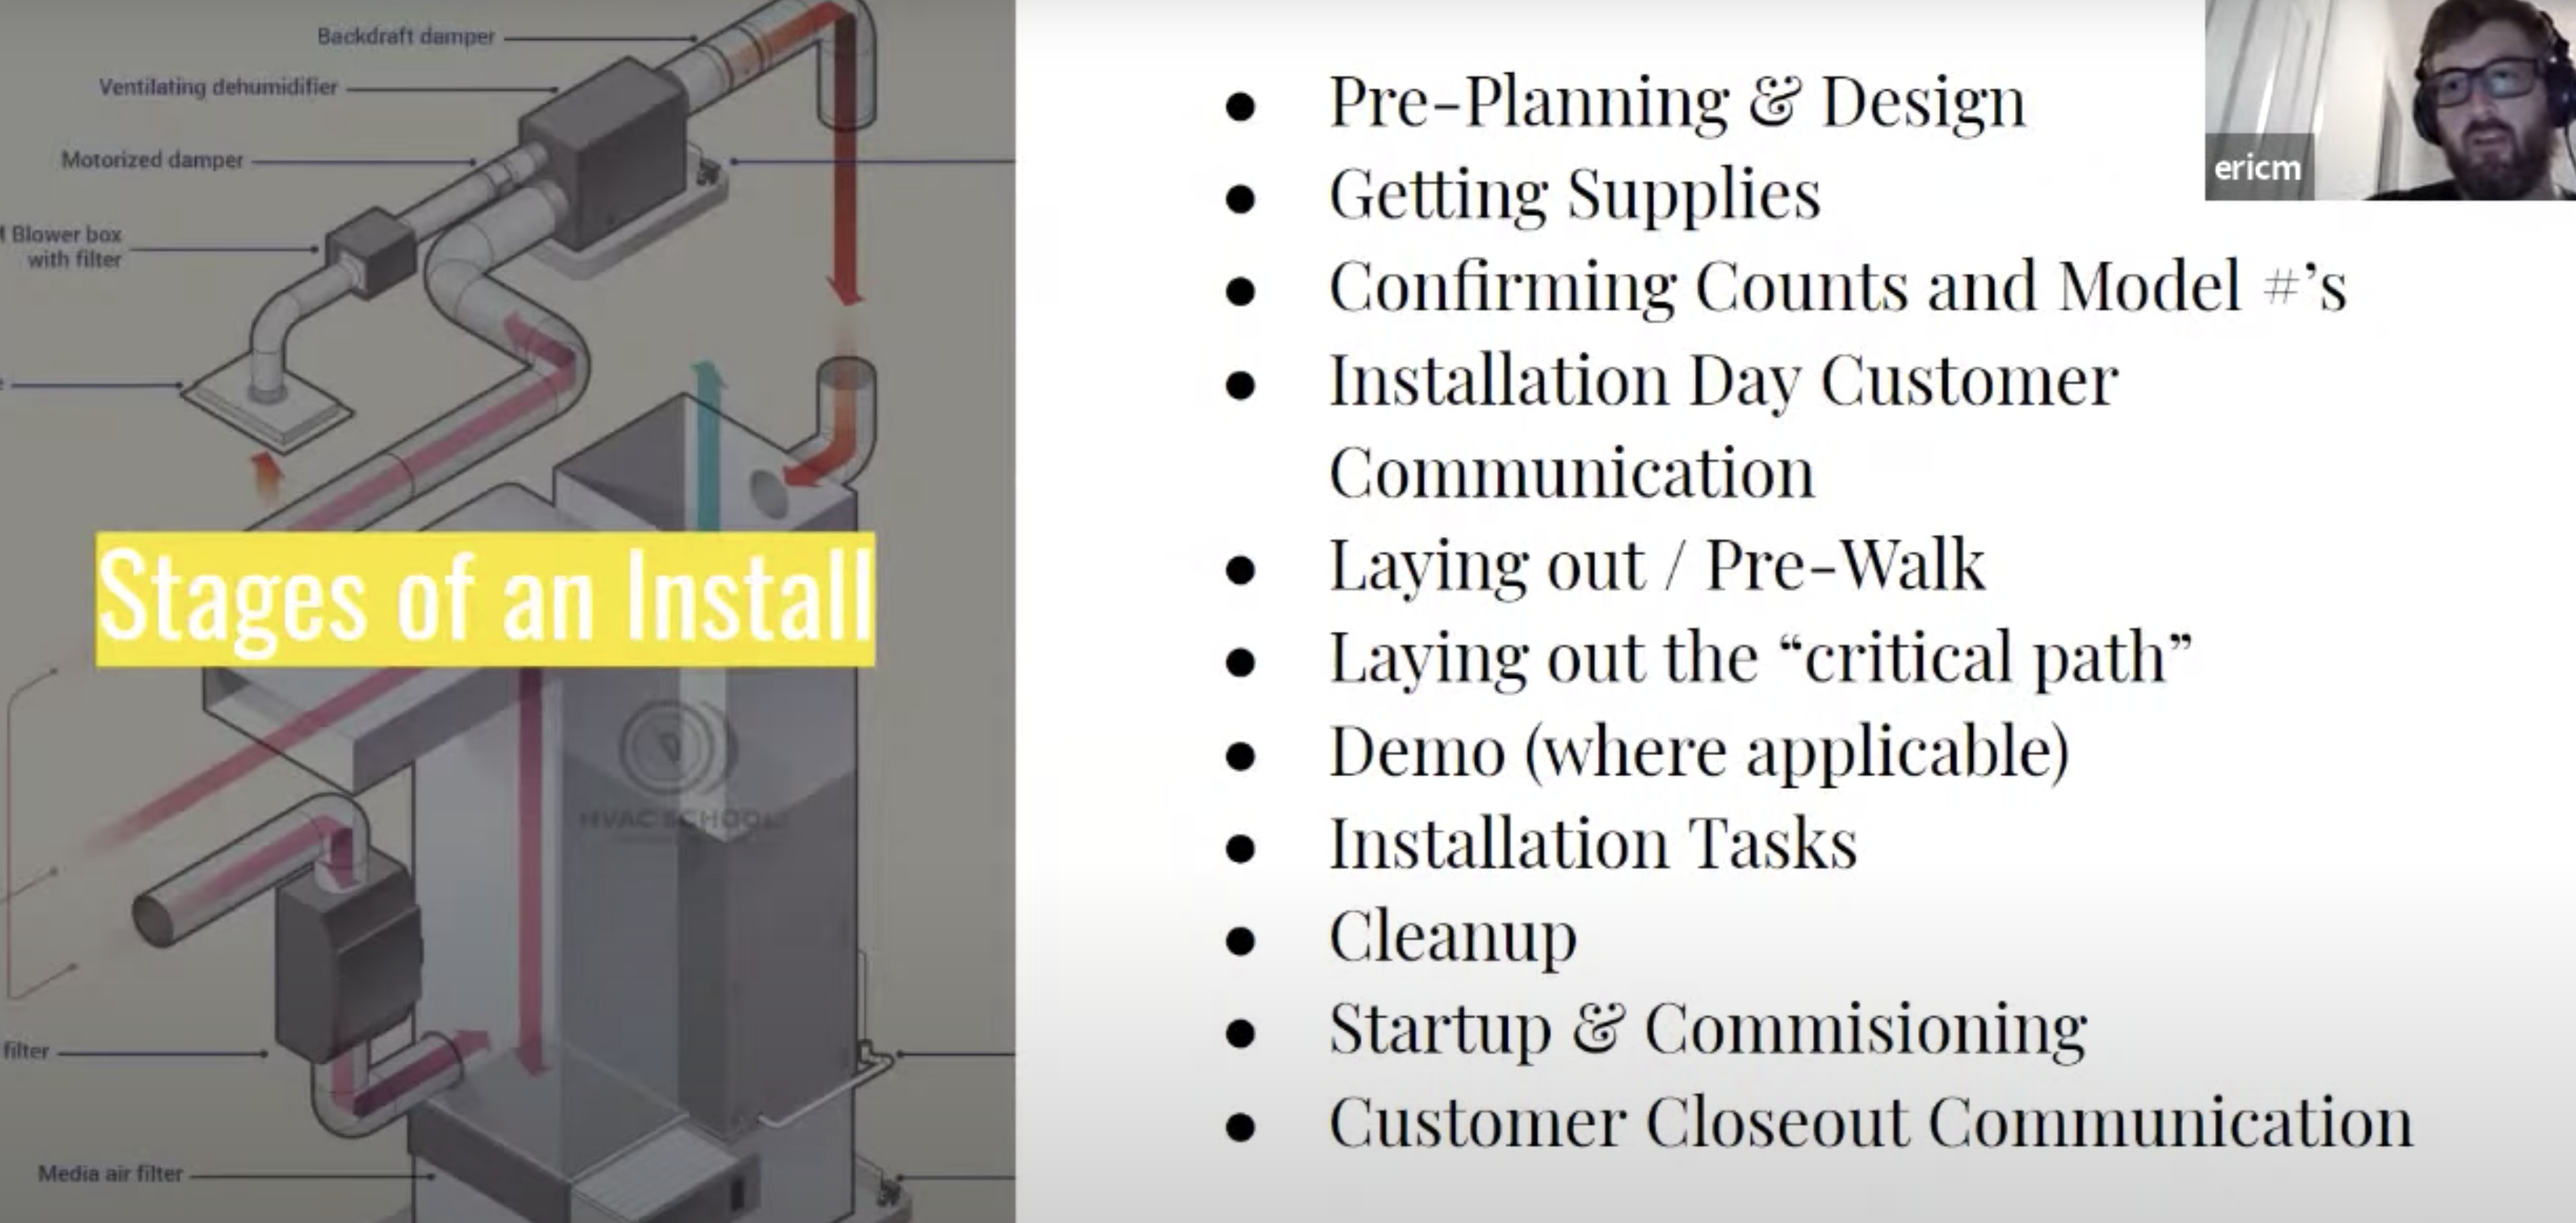
When approaching an installation, allow yourself enough time to understand the full scope of the install. Survey the site and figure out how to do the install the best way you can, whether you’re installing a new unit altogether or performing a changeout. The pre-planning and design phase are critical, and that’s when you size the equipment, confirm the ductwork design and equipment layout, and determine the CFM you need.
Then, you must make sure you have all of the correct supplies beforehand. Do you have all of the supplies you’ll need? Do you have the RIGHT materials for the job? You should answer “yes” to both of those questions BEFORE you start a job.
Once you have all the correct supplies, you can confirm your equipment counts and model numbers. Keep these notes on your phone or tablet and compare them with the equipment to verify that you have the correct equipment.
When you finally walk the site, make sure that you have the appropriate room to work. Ensure that you have enough room to fit the equipment and work on it. While walking the site, assess and take care of hazards.
Lay out the ductwork and piping on the floor as a reference, if possible. (See if you can use chalk or spray paint.) You would also want to communicate with the customer, other trades, and the general contractor (GC) during this time to make sure that everyone is on the same page. Make sure all questions are answered BEFORE the demo stage.
The “critical path” is the longest succession of end-to-end steps that are necessary to complete a project. The critical path is an excellent guide for larger projects. You can divide tasks into time-critical ones and tasks that don’t depend on a timetable.
Then, you do the demo, which includes tearing out old equipment. When removing everything, you can use the evaporator and condenser boxes as “trash boxes” to keep all of the old equipment together. If you’re going to be reusing anything, like copper, make sure you keep those components intact (or, in the case of wiring and piping, make sure you leave yourself enough to work with).
Recovery is the first step in changeouts or installations that require decommissioning. (You may want to remove your Schrader cores and use oversized tanks.)
When installing line sets, think about where you’ll be running them and that they’re appropriately insulated.
Pad installation and anchoring equipment go hand-in-hand. Make sure your equipment is level; you can constantly adjust the pad until you get it level. When anchoring equipment, be mindful of where you put your straps down. Make sure the equipment is accessible.
When wiring line voltage, make sure your connectors are appropriate. Use correctly sized wire nuts/grommets, route the lines correctly, and don’t allow sensitive cables to get too close to each other. Make sure the connector tension is good and that the wire won’t pop out of the connector.
The best brazing practice is to get the ENTIRE joint hot enough before you start applying solder. Use mirrors to check your brazing work on the sides you can’t see. You don’t need flux for copper-to-copper brazing.
When pressure and leak testing from the liquid line, its pressure may keep rising even though the suction line pressure may stabilize. Every unit has a recommended low and high side test pressure, and we recommend using low-side pressure and digital gauges to track pressure drops. A continuous pressure drop may indicate a leak, which warrants investigation. You will also want to do a bubble test to check for leaks.
Evacuation is another critical practice. Using a simplified, familiar rig is the best way to get a good vacuum. Make sure you use quality vacuum pump oil and keep extra batteries for your micron gauges.
When drain fabrication and testing, make sure your drain is pitched properly (quarter-inch fall per foot). Don’t cap your vents! Using as few fittings as possible is also one of the best practices. We also recommend using cap and fill testing, if possible.
As with high voltage wiring, be sure to route your low voltage wiring correctly. The goal should be to avoid wire damage from heat, rubouts, etc.; it’s a good idea to use conduits to protect your wires whenever possible.
We also discuss:
Copper quality and reusing copper
Brazing torch tips
Flux
Seating multi-position valves when brazing
Liquid line drier location
Flowing nitrogen
Solder rings
New oils (POE, PVE) and new practices
Drain piping
Check out information on the 2022 HVACR Training Symposium HERE.
If you have an iPhone, subscribe to our podcast HERE, and if you have an Android phone, subscribe HERE.
Comments
To leave a comment, you need to log in.
Log In