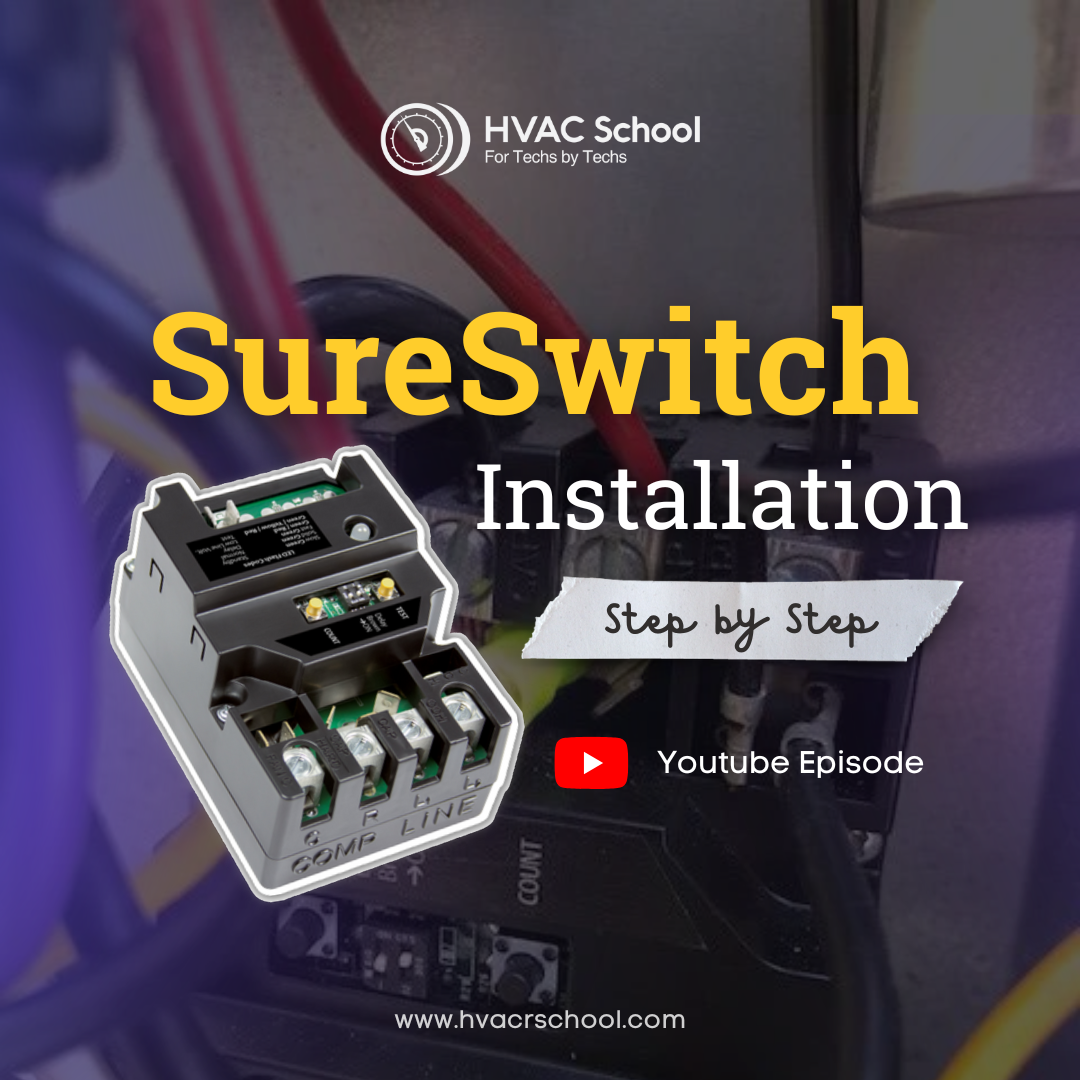
SureSwitch Installation Step by Step
September 20, 2022


Before installing the SureSwitch, disconnect the power. Then, confirm that the power is off by checking the voltage from leg to leg and from leg to ground. Once you’ve confirmed that there is no power, use the diagram on the SureSwitch to determine which contacts you will use. Cover the unused contact.
Remove the old contactor and begin mounting the SureSwitch, attempting to use existing holes. Wire in the contactor using the two uncapped contacts. With the contactor coil in place, connect your line and load power according to the sticker on the SureSwitch. Then, use a torque wrench set to the correct specifications to torque your wires according to their size and the sizing chart on the SureSwitch.
Once you have wired and torqued the connections, you may reinsert the disconnect and restore power to test the SureSwitch. Keep in mind that the SureSwitch is energized by line voltage in addition to the 24v power. The rapid flashing light indicates a start delay, and a solid light indicates that the SureSwitch is fully operating. Check the voltage to confirm that you have the appropriate line voltage. Then, check the compressor and condenser fan motor amperages.
Use the 5-second test mode by pressing and holding the “test” button for one second. Once you have confirmed that the SureSwitch is operational, apply the aftermarket sticker to a blank spot within the electrical panel.
To get an idea of the cycle count, press and hold the “count” button. Each flash count and color corresponds to 10,000, 1,000, or 10 cycles. Add up the corresponding flashes to get the number of cycles.
Comments
To leave a comment, you need to log in.
Log In