Market Condenser Fan Motor Replacement (Redux)
July 27, 2021


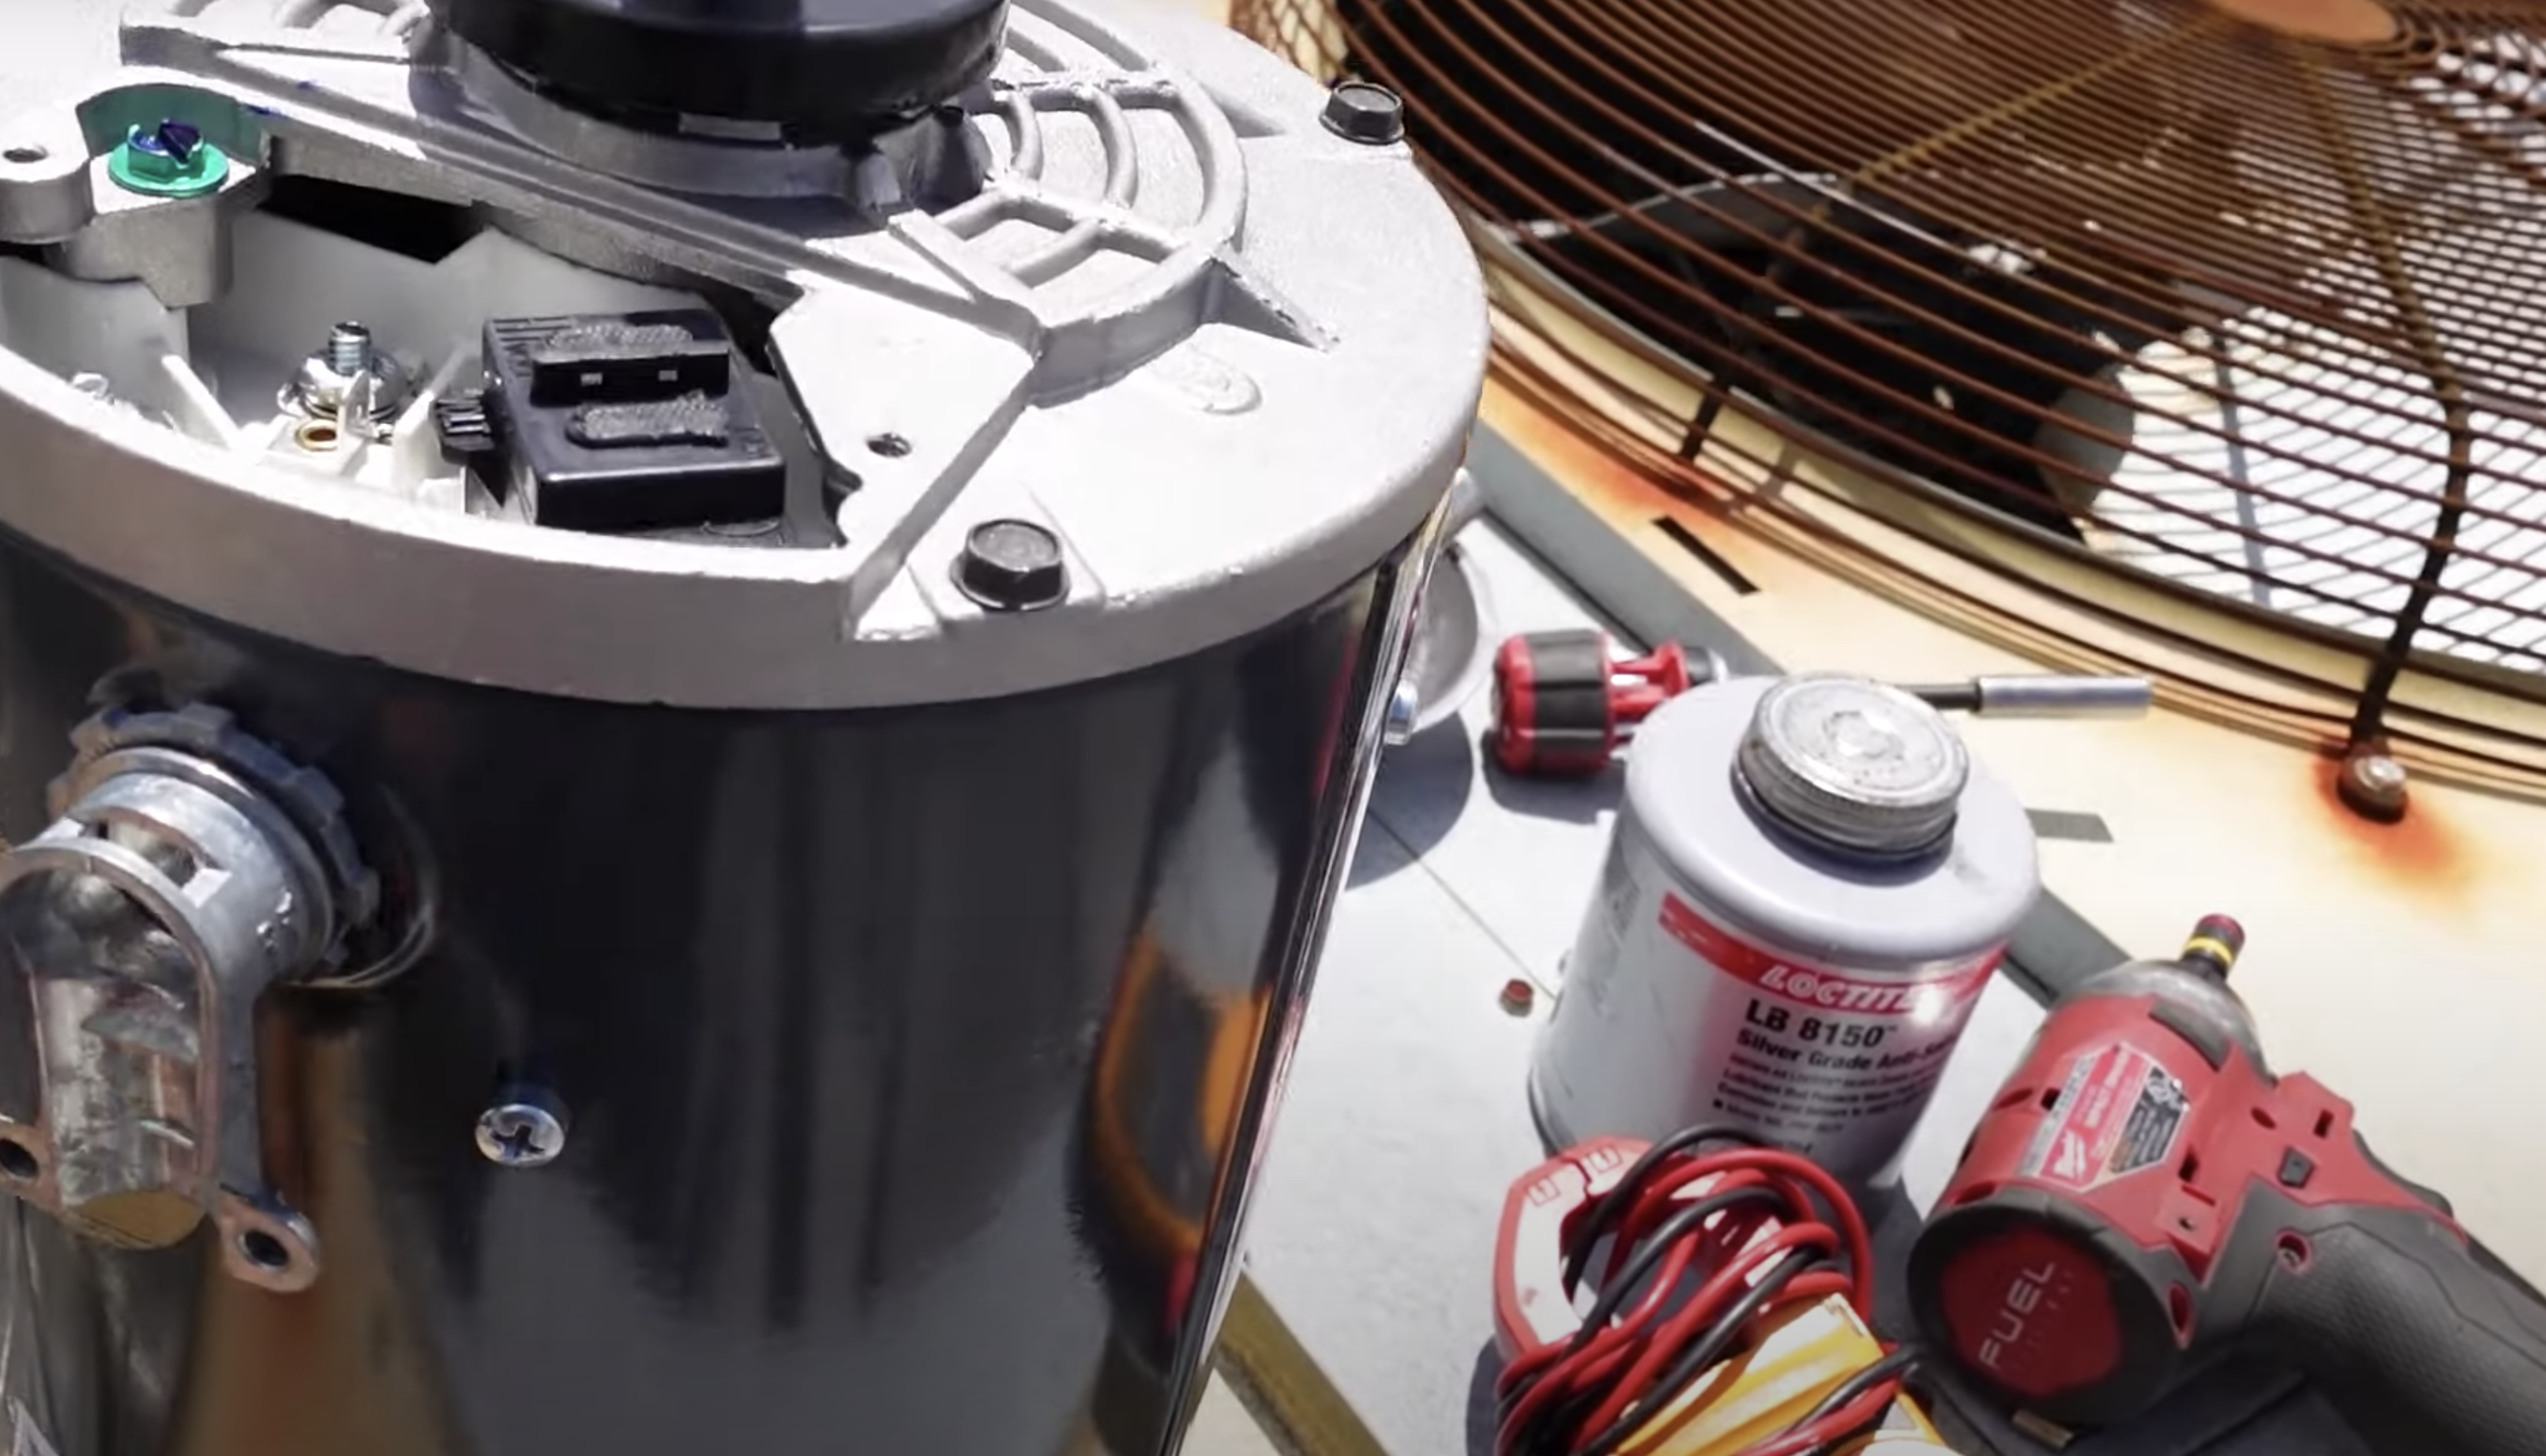
The fan motor connects near the top of the condenser unit, quite close to the fan blade. In this video, Eric uses an attached metal flex connector to route the wires away from the fan. He has also removed the flag terminal ends, as they had worn out and made a lousy connection.
Eric loosens the bolts on the motor and takes out the lock washer; he performs the latter with a magnet. He used a 5/8″ wrench to spread the belly band apart and make it easier to insert the new fan motor. Some motors have screws to stop the insertion from going too far, but other motors do not; it is up to you to determine which type you have so that you can prevent the motor from falling in and hitting the coil.
After Eric hooks up the high-voltage wiring, he sets the motor to “high volt.” If he were dealing with a low-voltage application, he would wire and set the motor accordingly. He then puts the cover back on and makes sure the wires are out of the fan blade’s way.
When Eric puts the fan blade on, he protects the shaft, puts the fan blade on in the correct direction, and uses the keyway to determine the fan blade’s position. When possible, you want the fan to sit in the middle of the keyway, not at the edge. Then, Eric tightens the bolts, paints over the shaft to make it stainless, and puts the shroud back on. However, he notices that the fan blade rests too close to the shroud and must lower the blade again.
Before you finish any job, you will want to check your electrical components as Eric does. Check your fuse placement, the amperage on all three power legs, and the fan blade rotation.
If you have an iPhone, subscribe to our podcast HERE, and if you have an Android phone, subscribe HERE.
Check out our handy calculators HERE.
Comments
To leave a comment, you need to log in.
Log In