KE 2 Commissioning
September 28, 2021


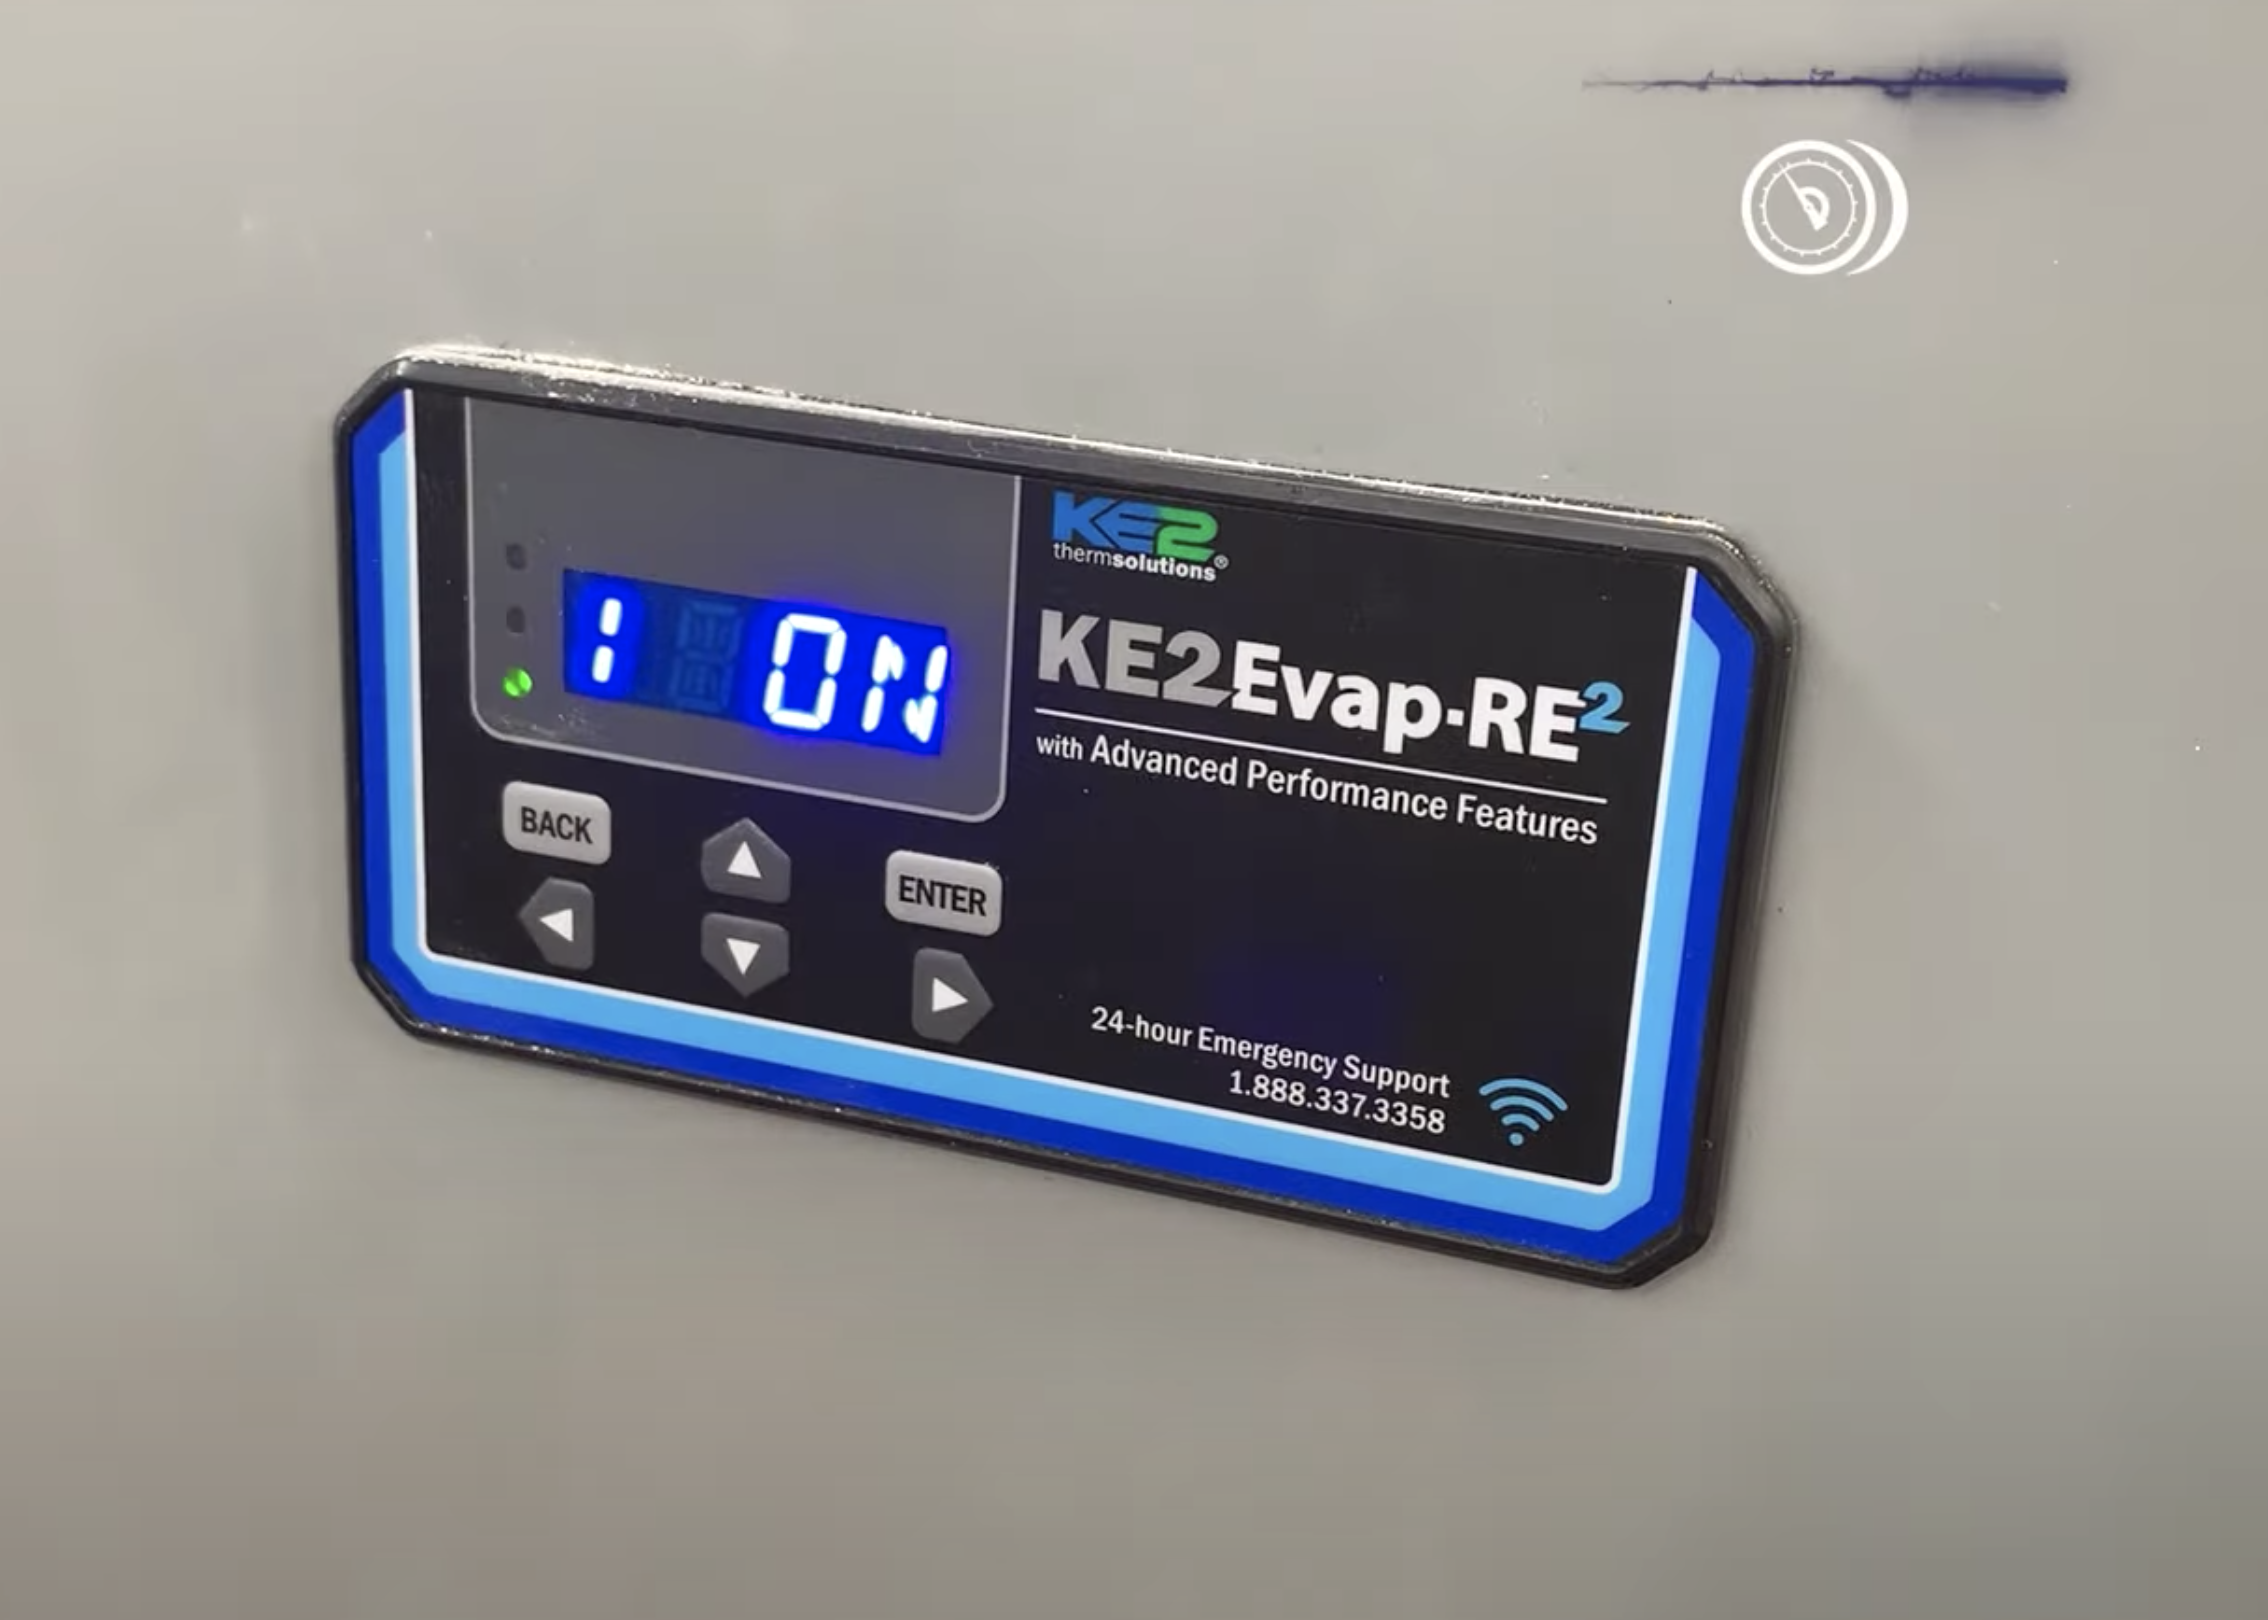
First, Eric presses the “BACK” and right arrow buttons until the control shows that the wi-fi is ON. Then, he connects the control to his laptop, though a phone or tablet will also work. You will take your device and connect to “re2-xxxxx-xxx” under your list of internet connections (the “x” characters represent the number of the controller). You may also run a LAN cable from the laptop to the control in case the wireless connection does not work, or you may set up the control using its interface (though that is an extremely tedious process).
Several components hook straight up to the control, including the suction pressure transducer and electronic valves. The control should also be able to read suction pressure, coil temperature, and return air temperatures. Accessory boards can also hold a few connections, such as to more electronic valves and sensors. Eric verifies that all of those boards and wires are in their correct spots. (The process includes tracing out wires.)
At first, the system will only reference one room temperature and one pressure transducer, as you can see on Eric’s device. You must set your fan current and defrost current on the device. Then, you can go into important settings and adjust the parameters based on the equipment specs. You can also enable, adjust, or disable inputs on the device, and you can tell the system to use either main or auxiliary sensors.
Even on medium-temp applications, defrost parameters still need to be set. Eric goes to the “Defrost” menu (accessible from the hamburger menu or the main screen) and leaves the setting at “demand” per the customer’s request. When setting the defrost current, Eric recommends setting the acceptable range to +/-10% of the amperage. (In his case, the fan had 24 amps, so he set the range to 2.5 amps in either direction.)
Watch out for two-speed evaporator fans! With the KE2 contactor, we can’t use the low-speed fan, so we remove the fan wires so that the fans can run at high speed.
Eric also comes across a spliced wire that plugs into Aux 1 Function. The spliced wire is the door switch for the freezer. When you change the function of the input by adding a new wire and components, you have to indicate that on your device. So, Eric sets the Aux 1 Function control to “Door Switch.” When the door opens or closes, you can hear the contactor adjusting to those changes, and the device’s interface for the control will reflect that.
In cases where you’ve set the defrost to demand defrost, you may notice the unit going into defrost over and over again. A common cause of that issue is a pressure transducer that isn’t reading properly.
Comments
To leave a comment, you need to log in.
Log In