Get Tech Tips
Subscribe to free tech tips.
Residential AC Maintenance Process
I like processes. I especially like them in the HVAC profession because they give me confidence that I did the job correctly and save me time. When I’m following a process, I spend less time thinking about what I’m doing because my body and mind are trained by repetition. I particularly like processes that back-check themselves; for example, touching the thermostat is the final thing I do on maintenance calls.
Over time, I have built out a process that I use just about every single time I do an AC maintenance:
1. Arrive, introduce yourself, and get familiar with where everything is.
Locate the thermostat, indoor unit, and outdoor unit. Ask if the homeowner needs their filter changed, if they have a filter, or if they want you to provide it.
2. Turn the unit on at the thermostat.
3. Deploy your air probes.
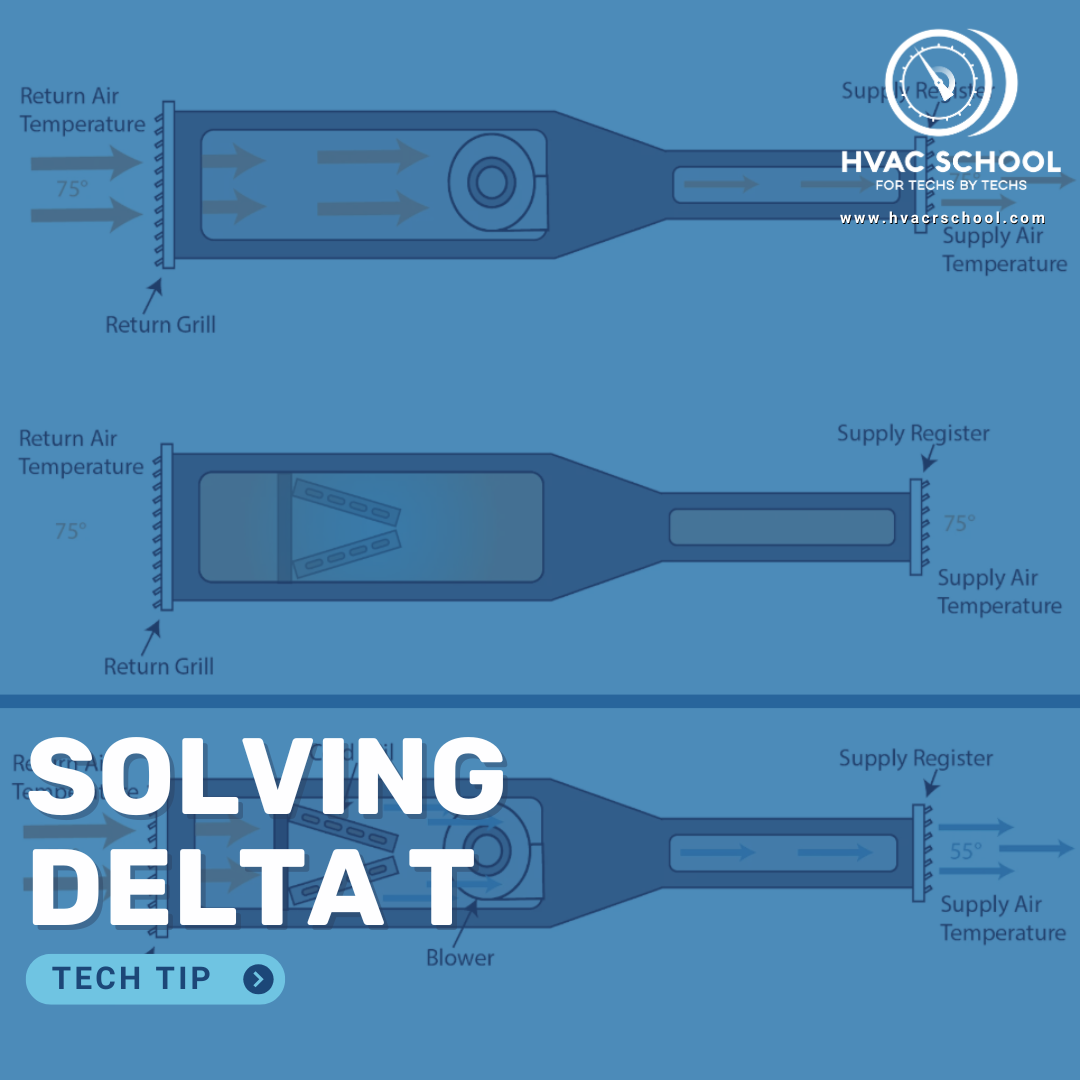
I have wireless ones, so I stick them in the return and closest supply to the unit. Then, the system can run, and I can check the temperature split after the unit has run for a while.
4. Go into the attic/closet and look over the drain system.
Where do the drains terminate? Is there water in the pan? Does it have float switches?

5. Change the filter.
6. Drill holes and check static pressure.
You can get a step-down bit that fits on your impact driver, eliminating the need to carry a second power tool such as a traditional drill.

7. Shut the unit off and open up the blower cabinet.
8. Check the blower capacitor.
How dirty is the blower cabinet? Where is the dirt coming from? If this is an ECM blower motor, does it have surge protection?
9. Close the blower panel.
Closing the panel will typically start the 5-minute time delay on the thermostat, or you may need to go reset the thermostat.
I power the unit on before I go up in the attic so that I can check static pressure while the system is running. The 5-minute time delay that is likely to engage is not bothersome at this point because I’m going to clear the drain line and then head outside. So, I’m using the time delay strategically to not slow myself down. I have found that this method lessens the number of times I have to go up and down into the attic. Processes should be about efficiency, minimizing opportunities for mistakes, and reducing callbacks.
10. Clear the drain line with nitrogen.
11. Head outside and locate the water connection.
How much hose do you need? How dirty is the unit?
12. Shut off the power at the disconnect.
13. Disassemble the unit and wash it from the inside out by taking off the fan top.
You just can’t get it as clean if you wash it from the outside in. There are too many dang fins on these things! Plus, you can pull all the dead leaves out from inside the unit.

14. Examine the wires inside the unit while you have the top off.
15. Put the unit back together and turn on the disconnect.
16. While the unit is drying off, check your capacitor under load.
I rarely, if ever, bench-test a capacitor. It is just faster to check it while the unit runs, and you remove a potential callback by not having to remove the wires from the capacitor.

17. Now is a good time to make notes and input model and serial numbers as you wait for the condenser to dry off.
18. Check your amp draws.
19. Look over the wiring in the electrical panel, and check the high and low voltage running to the unit.
20. Check the charge.
I use Fieldpiece probes, so I’m also able to check the temperature differential when I open the app.
Note: If you are new to charging, we have a few tech tips and videos on the subject, including a class about common charging mistakes and a tech tip about charging basics for A/C systems and heat pumps.

21. If everything is performing as it should, go inside, remove your outdoor probes and air probes, and shut the unit off at the thermostat.
22. If there are any issues, make recommendations to the homeowner.
I have found this workflow to be very efficient and thorough. It also gives me peace of mind because the common callbacks, like forgetting to turn the disconnect back on or leaving a blower capacitor disconnected, are eliminated by following the process. You always see the condenser come back on after you wash it. The blower needs to be running in order to check your charge, or your will notice something is wrong. Any process you create that can back-check previous parts of the process gives you confidence the job was done right.
—Matt Bruner


Comments
I agree with your article, but one thing I’ve found helpful is to take Delta’s using the same holes as the static pressure probes. I can get an accurate reading without worrying about temperature loss/gain from the ducts.
I agree with your article, but one thing I’ve found helpful is to take Delta’s using the same holes as the static pressure probes. I can get an accurate reading without worrying about temperature loss/gain from the ducts.
Chris,
That is a helpful check. But I like doing it across the ductwork because it’s the “real world” scenario. That way if they have a really leaky duct system, your TD check may catch the problem.
Chris,
That is a helpful check. But I like doing it across the ductwork because it’s the “real world” scenario. That way if they have a really leaky duct system, your TD check may catch the problem.
To leave a comment, you need to log in.
Log In